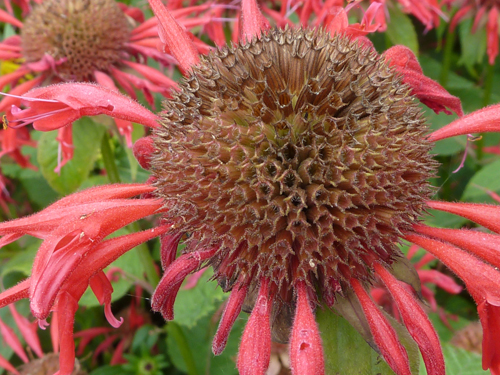
Here’s a trick you can do with the free Photoshop filter Mike and Kael’s Kill White (which is an awesome filter for several reasons).
So I have a picture of a flower. Nothing special. There’s not a whole lot of contrast and it’s just kind of blah. I tried playing with the contrast and the colors and I just wasn’t happy with it. So, I went back to the beginning and did a trick with Kill White instead.
Here’s the original:

I copied the layer.

And converted it to black and white. That’s Image->Adjustments->Black & White. I played with the filters until I came up with one that made mostly the leaves darker, but the petals stayed bright. This time it was the High Contrast Red Filter, but if none of the pre-sets look quite right, you can manually adjust the filter.

Now you have two layers. A black and white and a color. Here’s where I use the handy-dandy kill white filter on the black and white layer. That transformed all the white in the layer to transparent and you get this:

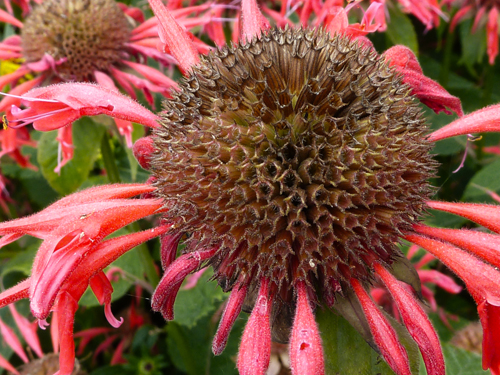
Almost there, but just a bit too dark. So I adjust the vibrance of the bottom layer. That’s Image->Adjustments->Vibrance. In this case I upped the vibrance and the saturation by 10. Then I upped the brightness by 40 under Image->Adjustments->Brightness/Contrast. Then I adjusted the transparency of the top layer to 80%. And came up with this:

Okay, so maybe not an award-winning photo, but it’s a heck of a lot better than the original.

See what I mean?

Cropping helps.
The reason this works is with the transparent and black overlay, I can up the brightness and saturation of the colors I want without losing the nice dark shadows of the parts I want in shadow. It’s a very targeted way to up the contrast on a photo.

Kill white is so cool! I’ve been playing with with it for hours!
I KNOW! Isn’t it? 🙂